
Stripping a Chair.....can be messy! But end up... Oh So Pretty!
- Apr 8, 2021
- 2 min read
Updated: Apr 27, 2021
Now this little diddy was quite the stripping experience! Learning experience!
I bought 2 chairs like this just a neighborhood over from me and hubby was so happy he didn't have to drive into Houston! But I know he would...because he's nice like that.
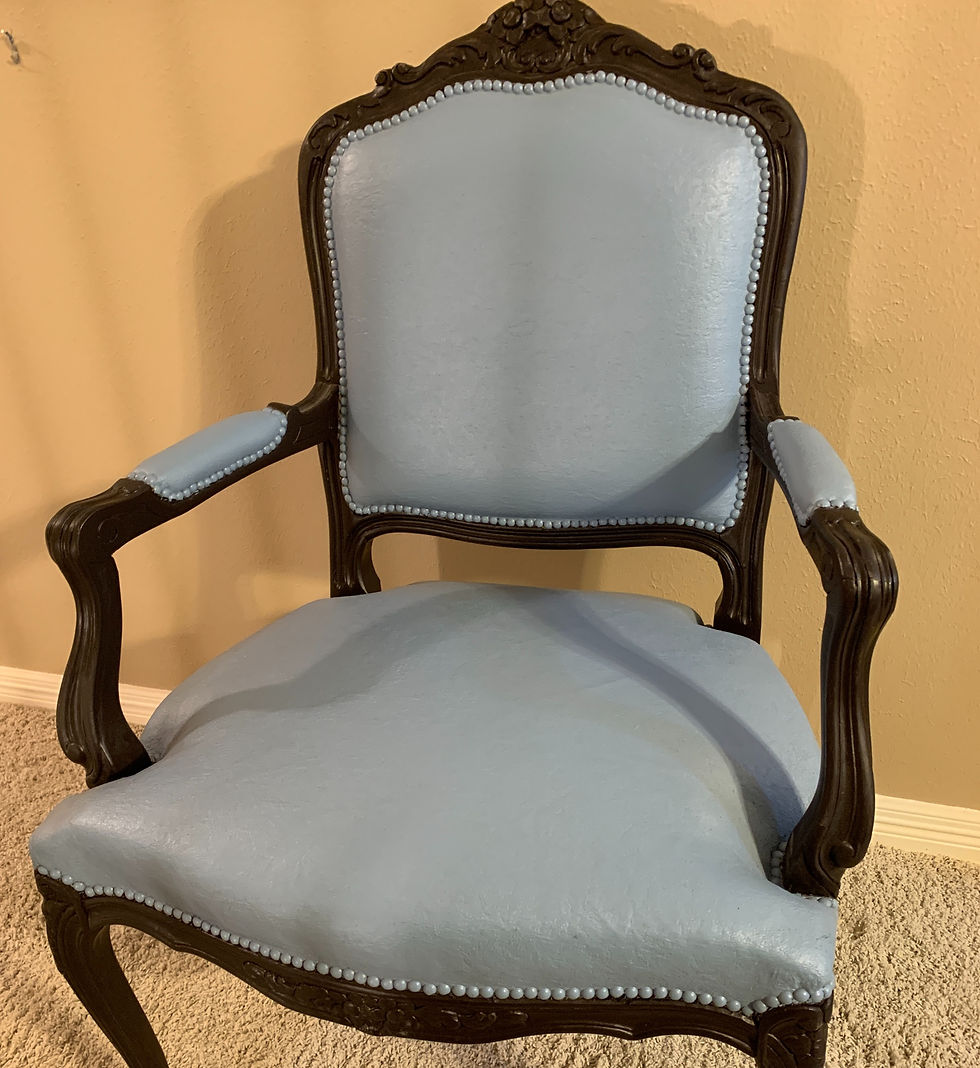
This looks like a blue fabric and walnut stained finish.....WRONG!

This chair fabric had been painted over in blue paint along with painting the nail-heads AND the oak wood finish had even been painted. I had never seen such a thing but I got busy stripping it down.

Here's a shot of the original floral print that was on the chair and then the blue paint.
I guess the former owner didn't like florals!
It really came off easy after getting rid of all the nail-heads....my most dreaded and hated chore. Not to mention painted nail heads!
Please people don't paint the nail heads!

Here's a shot of the arm showing the original oak finish and then the paint.
So my next thought was, I can't paint over that old brown paint that was way too thick in places so I decided to strip the paint off.
Boy oh Boy....you haven't lived until you have stripped off paint from .....anything!

So I researched and watched YouTube videos galore on stripping, consulted my friend in my Painting Bootcamp class and got after it....
Then it got after me.

IT WAS THE BIGGEST MESS EVER!
You really should do it in stages and only portions of the chair. It's hard to get it all cleaned off in one or two sittings and it tends to dry out in the meantime.
So then back to applying the stripper and wrapping in Saran Wrap AGAIN, letting it set overnight and then back to scrubbing...
Goo is everywhere not to mention what it does to your manicure! Even wearing gloves it eats through your gloves....lesson learned!

I learned a LOT and that you need lots of rags (I used an old sheet), lots of those green little scrubby pads, lots of mineral spirits, those little wooden skewers to get in ALL the little grooves and a couple more little gadgets for the indented curvy channels to help clean out all the goo that happens.
It honestly took me a week of working on it all.

After I got it all semi cleaned up, I kind of liked the rustic look. I still need to sand some more areas but it is growing on me more and more to leave it and just top coat it with a clear finish.
What do you think? Yay or Nay?

Here you can see the overall look and I still haven't done the last bit of sanding or top coat until I decide on which fabric.
My plan changed again since I was going to paint it gray.
But the decision now is what fabric should I use?

Let me know in the comments:
Do you like this #1?

OR this #2??

OR this #3??????

Now on to the second chair....
it will be a while before I'm ready to start stripping the paint!
But I've got to get it done before the heat sets in around here!🔥
So really time is running out!


Comments